How to Ship Restaurant Equipment by LTL Freight
Prepare restaurant equipment for LTL using qualified utility service, manufacturer handling, protective packaging, finished measurements, and site details.
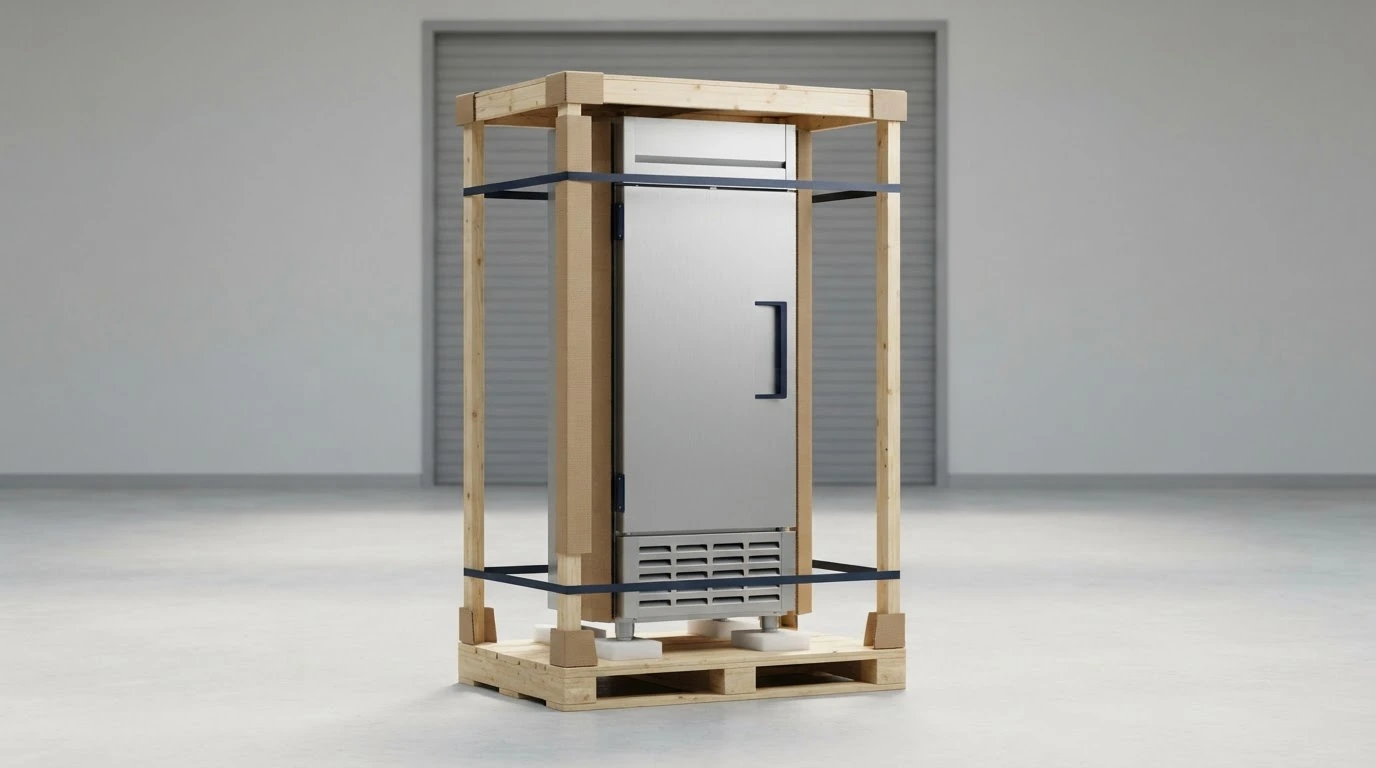
To ship restaurant equipment by LTL freight, identify the exact appliance and condition, arrange qualified utility and refrigerant service, follow the manufacturer’s moving instructions, secure loose components, build a stable forkliftable package, protect finished and fragile surfaces, measure and weigh the completed unit, confirm the current classification, and verify what the carrier must do at pickup and delivery.
LTL can fit equipment that can move safely through the selected carrier’s shared handling environment without a dedicated trailer. It is not automatically right for every refrigerator, freezer, range, oven, fryer, dishwasher, ice machine, sink, prep table, mixer, or walk-in section. Finished geometry, weight concentration, center of gravity, utilities, regulated materials, packaging, site access, and carrier acceptance determine the practical option.
Step 1: Identify the appliance and its condition
Record each handling unit separately:
- equipment type, manufacturer, model, serial or order reference, and quantity;
- new factory-packed, new unpacked, used, returned, damaged, or scrap condition;
- electric, gas, steam, water, drain, refrigerant, oil, battery, or other connections and contents;
- removable shelves, racks, trays, doors, drawers, glass, casters, legs, hoses, controls, or accessories;
- manufacturer shipping skid, bolts, brackets, blocks, lift points, fork pockets, and orientation instructions;
- individual and completed package dimensions and gross weight;
- center of gravity and approved support or securement points; and
- pickup and destination facilities, contacts, hours, and unloading equipment.
Do not infer preparation from a category name. A new reach-in refrigerator on its factory skid, a used fryer with residual oil, an ice machine with loose components, and a stainless prep table create different risks.
If the load is unusually tall, top-heavy, long, crane-dependent, difficult to enclose, or dependent on installation crews, compare LTL with a realistic alternative. Installation, rigging, utility work, and debris removal are separate scopes unless explicitly included in a written service.
Step 2: Arrange qualified disconnection and regulated-material review
Transportation should begin only after the owner or shipper has arranged safe decommissioning. The required work depends on the equipment and local rules and may include electrical isolation, gas disconnection, water and drain work, cooling and cleaning, oil removal, refrigerant service, or securing pressurized components.
EPA’s current Section 608 guidance prohibits intentional venting of covered refrigerants and substitutes during maintenance, service, repair, or disposal and establishes refrigerant-management requirements (EPA: Managing Refrigeration and A/C Equipment). Do not release refrigerant simply to prepare a refrigerator, freezer, ice machine, or other appliance for transport.
Before tender:
- Determine whether the equipment is charged, empty, recovered, leaking, damaged, or being shipped for disposal.
- Use a properly certified technician when refrigerant service or recovery requires one.
- Determine whether refrigerant, gas, oil, batteries, cleaning chemicals, or other contents trigger transportation requirements.
- Complete any required classification, packaging, marks, labels, documents, and training.
- Confirm that the selected carrier and service accept the appliance as prepared.
Shipping a factory-charged appliance, a separate refrigerant cylinder, and a leaking used unit are different scenarios. Obtain qualified guidance when the status is unclear.
Step 3: Follow the exact manufacturer’s moving instructions
Manufacturer instructions show why restaurant equipment cannot be moved under one universal rule. A current True Manufacturing manual for specified commercial refrigerators and freezers tells handlers to keep glass-door shipping brackets or blocks in place until final location, retain them for a later move, move the appliance close to final position before removing the wooden skid, and avoid lifting by countertops, doors, drawers, or grilles (True Manufacturing: GDM Freezer and Refrigerator Installation Manual).
Those instructions apply to the covered models. Find the current manual for the actual equipment and confirm:
- whether it must remain on the factory skid;
- approved fork entry, lift points, base supports, and orientation;
- shipping bolts, compressor restraints, door blocks, brackets, and internal braces that must remain installed;
- parts that must be removed, separately packed, or secured;
- panels, doors, handles, controls, tubing, and fittings that cannot bear load; and
- when the package may be removed.
Do not use casters, doors, handles, sheet-metal panels, drain fittings, refrigerant tubing, gas manifolds, or control housings as freight securement points unless the manufacturer expressly approves it.
Step 4: Package for the equipment type
FedEx’s current freight guide distinguishes pallets, crates, blocking, bracing, banding, stretch wrap, edge protection, and large-equipment enclosures (FedEx: Freight Packing and Packaging Guidelines). XPO’s current freight-protection guide addresses carton patterns, pallet overhang, corrugated layers, edge boards, bands, and wrap in an LTL environment (XPO: Freight Packaging Guide).
Treat both as carrier guidance, not a universal engineering specification. Confirm the selected carrier’s requirements and use a qualified packaging or rigging reviewer for valuable, fragile, used, tall, or unusual equipment.
Refrigerators, freezers, and ice machines
Preserve a sound factory skid and packaging when possible. Support the structural base, restrain it without crushing the cabinet, and protect doors, hinges, glass, control panels, condenser openings, service valves, drain fittings, and refrigerant lines. Keep manufacturer shipping blocks, brackets, and bolts installed as directed.
Secure or separately package shelves, pans, bins, racks, and accessories. Follow the model’s orientation and tilt limits; a generic upright arrow is not a substitute for physical stability and the manufacturer’s instructions.
Ovens, ranges, fryers, grills, and cooking equipment
Have qualified personnel disconnect utilities and verify that the appliance is cool and safe to handle. Remove or immobilize racks, trays, grates, burners, doors, splash guards, and other loose components according to the manufacturer instructions. Protect knobs, thermostats, handles, glass, manifolds, legs, casters, and finished surfaces.
Use a base designed for the weight and footprint, then crate or frame exposed equipment when neighboring freight and restraint pressure could damage it. Do not wrap residual cooking oil or cleaning chemical inside the package without determining its safety and regulatory status.
Dishwashers, sinks, beverage, and water-connected equipment
Arrange proper utility disconnection and drainage. Secure doors, wash arms, pumps, racks, hoses, valves, faucets, drains, and electronic controls. Protect open connections with suitable caps or guards and contain separately packed parts so they remain traceable.
A drained appliance can still contain moisture or residue; packaging should tolerate the actual condition without trapping a leak against electrical or finished surfaces.
Stainless tables, counters, hoods, and fabricated fixtures
These items can be light relative to their size and vulnerable to dents, scratches, bending, and sharp edges. Use a purpose-built skid, crate, or frame that supports the full geometry and protects corners and finished faces. Immobilize undershelves, legs, casters, and loose hardware.
Do not apply bands directly across unsupported stainless panels or polished edges. Use structural members and fitted edge protection to distribute restraint forces.
Mixers, slicers, countertop appliances, and small equipment
Protect blades, guards, bowls, attachments, glass, control panels, cords, and feet. Immobilize moving heads and mechanisms according to the manual. Use a suitable carton or crate with internal cushioning, then consolidate packages into a stable handling unit when LTL is selected.
Do not leave small accessory cartons loose on the outside of a tall appliance pallet where they can change dimensions or separate during handling.
Step 5: Measure and classify the completed freight
NMFTA explains that the current National Motor Freight Classification evaluates commodities through density, handling, stowability, and liability (NMFTA: National Motor Freight Classification). Density is important for many items, but it does not create one generic restaurant-equipment class.
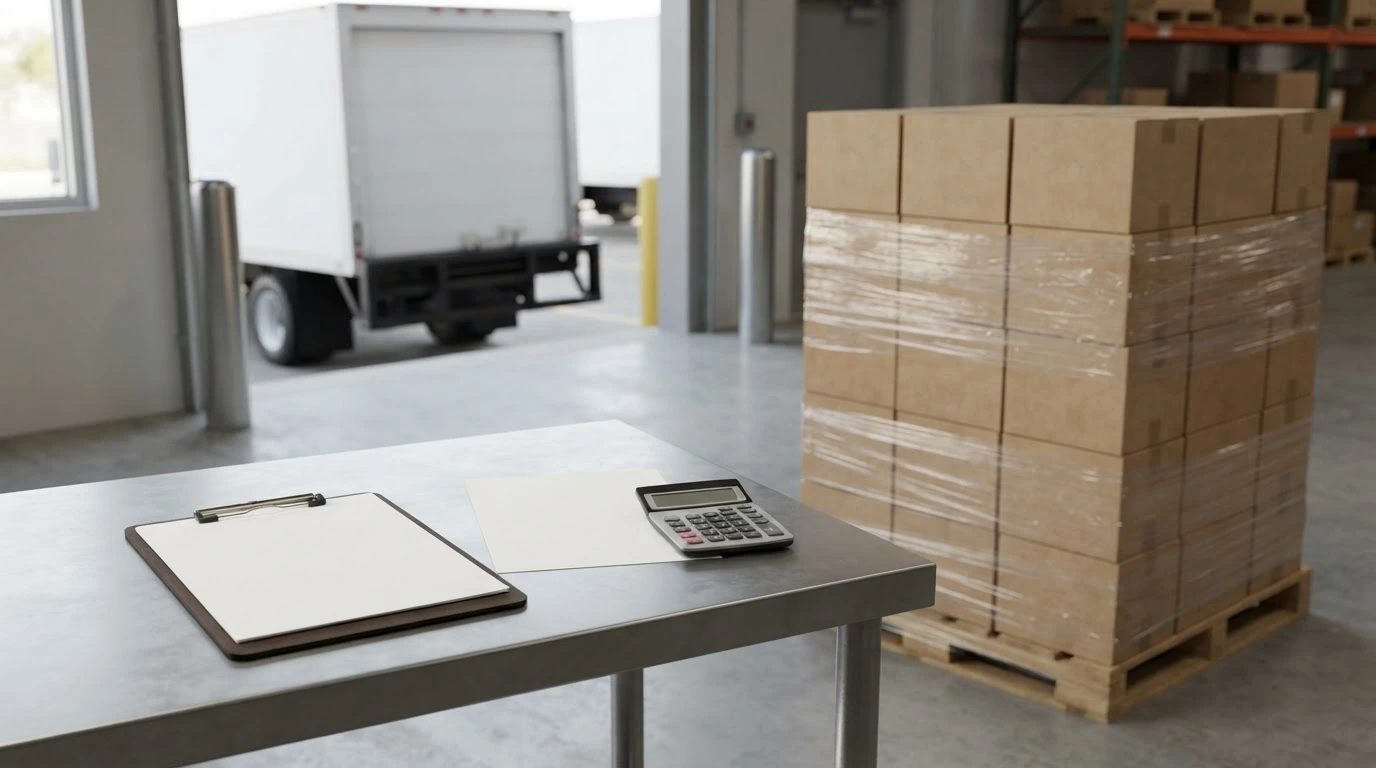
Measure the extreme packaged length, width, and height, including the pallet, skid, crate, overhang, corner protection, protrusions, and any non-stack device. Weigh the completed handling unit, not the appliance before packaging.
For each unit:
- Identify the actual commodity as prepared.
- Find the current applicable NMFC item and packaging provisions.
- Calculate density when the item requires it from verified finished measurements and weight.
- Check handling, stowability, liability, regulated-material, and carrier-tariff provisions.
- Retain the item, class, inputs, and source of the determination.
Do not copy the class from a different appliance, package, or condition. Recheck the data when accessories, skid, crate, dimensions, weight, or stackability change.
Step 6: Verify origin, restaurant, and installation boundaries
The origin may have a dock while the destination is a restaurant with street access, a shopping center, food hall, basement kitchen, loading alley, construction site, school, hotel, residence, or secured facility. Describe what the carrier must physically do.
Confirm:
- whether a suitable dock, forklift, pallet jack, crane, or rigging crew is available;
- whether a liftgate is requested and can accommodate the completed package;
- platform size, package footprint, center of gravity, and ground-movement path;
- whether the carrier classifies the site as residential or limited access;
- appointment, notification, business-hour, security, and check-in requirements;
- curb, alley, doorway, elevator, stair, grade, floor-loading, and overhead-clearance constraints;
- who unloads, uncrates, moves, installs, connects, starts, and disposes of packaging; and
- whether prior approval or specialized equipment is required.
Do not treat “inside delivery” as installation or final placement. Service names, delivery points, driver labor, equipment, limits, and charges vary by carrier. Confirm the written scope and arrange qualified movers or installers for work outside it.
A liftgate’s stated weight capacity does not prove that a tall appliance is safe to handle. Package footprint, balance, platform support, ground condition, and a plan for moving the unit after ground placement can matter.
Step 7: Keep the tender consistent with the quote
Carry the same facts into the accepted quote, bill of lading, labels, regulatory documents, and pickup:
- precise appliance and condition descriptions;
- handling-unit, package, and accessory counts;
- extreme packaged dimensions and gross weight per unit;
- NMFC items and freight classes when applicable;
- refrigerant or other regulated-material information when required;
- truthful stackability, orientation, and handling restrictions;
- origin, destination, dates, contacts, and site details;
- requested pickup and delivery services; and
- accepted pricing or service reference.
Before pickup, inspect the skid, crate, restraints, brackets, blocks, cabinet, doors, glass, controls, connections, labels, and documents. Look for loose accessories, damaged casters, unstable weight, leaks, grease, exposed edges, blocked fork entry, overhang, torn wrap, and conflicting labels. Photograph the complete prepared units from useful angles.
If a quote covered a new factory-packed refrigerator, do not tender a used unpacked cabinet with loose shelves under the same data. Request updated instructions and pricing when the freight changes.
Step 8: Prepare receiving and condition evidence
Give the receiver the equipment identifiers, handling-unit and accessory counts, unloading plan, and inspection process. At delivery, compare visible count and condition before signing. Inspect the skid, crate, cabinet, doors, hinges, glass, handles, controls, vents, panels, connections, restraints, and accessible internal parts without creating an unsafe unpacking situation.
Record specific visible exceptions on the delivery receipt when appropriate, photograph the condition, preserve the package and equipment, and follow the current manufacturer, seller, contract, and carrier procedures. The True manual, for example, gives specific instructions for damage found on receipt; another manufacturer or transaction may require a different process.
Do not issue a blanket instruction to accept or refuse every damaged appliance. Safety, contracts, carrier rules, installation schedule, seller policy, and the type of damage can affect the appropriate response.
No photograph, notation, package design, inspection, or declared value guarantees a claim or warranty outcome. The tariff, contract, manufacturer terms, packaging adequacy, evidence, timing, liability rules, and facts of the event can matter.
For repeat shipments, track exceptions such as dented panel, broken glass, loose shelf, damaged caster, missing accessory, leak, restraint failure, reweigh, dimension correction, classification change, liftgate mismatch, or site refusal. Review patterns by model, supplier, package design, warehouse, lane, carrier, and receiver.
Two restaurant-equipment workflows without invented numbers
New reach-in refrigerator to a restaurant
The shipper preserves the factory skid, shipping blocks, and cabinet protection, records the finished dimensions and weight, confirms classification, and quotes the real receiving location. The restaurant arranges an appointment, verifies doorway and ground path, and has qualified personnel ready for movement and installation beyond the carrier’s written delivery point.
Used cooking line from a closed location
Qualified trades disconnect and prepare each appliance. The shipper records condition, removes or secures loose components, creates separate stable handling units, measures the finished freight, and documents origin condition. It does not combine installation, rigging, cleaning, or utility work with transportation unless a provider explicitly accepts that scope.
Neither workflow supplies an automatic class, rate, transit time, claim result, or recommended carrier.
Restaurant-equipment LTL quote checklist
- Exact equipment type, manufacturer, model, quantity, and condition
- Qualified electrical, gas, water, drain, oil, and refrigerant preparation
- Origin and destination postal codes and facility types
- Completed handling-unit and accessory counts
- Extreme packaged dimensions and gross weight per unit
- Current NMFC item and freight class when applicable
- Manufacturer-approved skid, brackets, blocks, orientation, and lifting method
- Equipment-specific crate, restraint, surface, edge, glass, control, and connection protection
- Truthful stackability and handling restrictions
- Pickup date, receiver hours, delivery point, and unloading plan
- Liftgate, inside, limited-access, residential, appointment, notification, or other requested services
- Consistent quote, bill of lading, labels, regulatory documents, and tendered freight
- Origin and delivery condition evidence
Shipocity is backed by a team with more than 40 years of combined logistics experience. Through established industry relationships, the platform helps businesses compare competitive freight rates for their specific shipment.
With the completed packages, measurements, equipment details, and site requirements ready, Price this type of shipment.